
Đây là nội dung mô tả chi tiết về bước này...

Do not install on damp surfaces or those without waterproofing treatment
Avoid heavy impacts or sharp objects on the panel surface
Use the correct type of adhesive and recommended accessories
Ensure a small expansion gap during installation (for areas with temperature fluctuations)
For outdoor or semi-outdoor areas, a protective roof/canopy is required


Connecting and covering joints
Connecting and covering joints

Connecting and covering joints
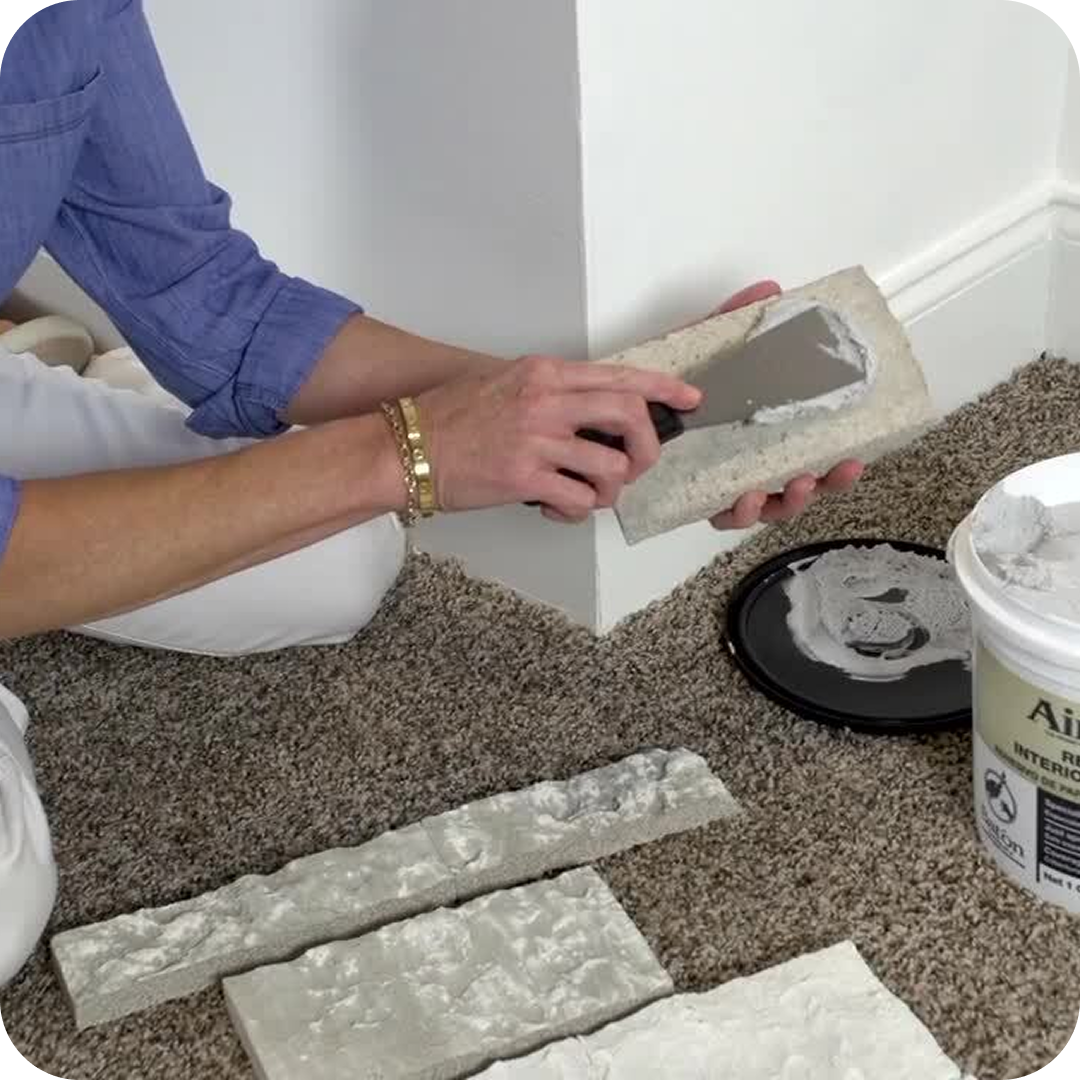
Connecting and covering joints

